Creating a WFS Shipment
Follow these steps to learn how to create an inbound shipment to Walmart Fulfillment Services (WFS) and ensure your products are ready for seamless fulfillment.
Step-by-Step Guide to Create a WFS Shipment
Please note that all inventory that you plan on sending into WFS must be already added to your Walmart Seller Central catalog prior to creating a shipment. We recommend adding all items 1 day prior to creating a shipment to ensure a smooth shipment creation process
Step 1: Log In to Walmart Seller Center
1. Access Seller Center:
- Visit the Walmart Seller Center and log in with your credentials.
Step 2: Navigate to the WFS Section
1. Start a New Shipment:
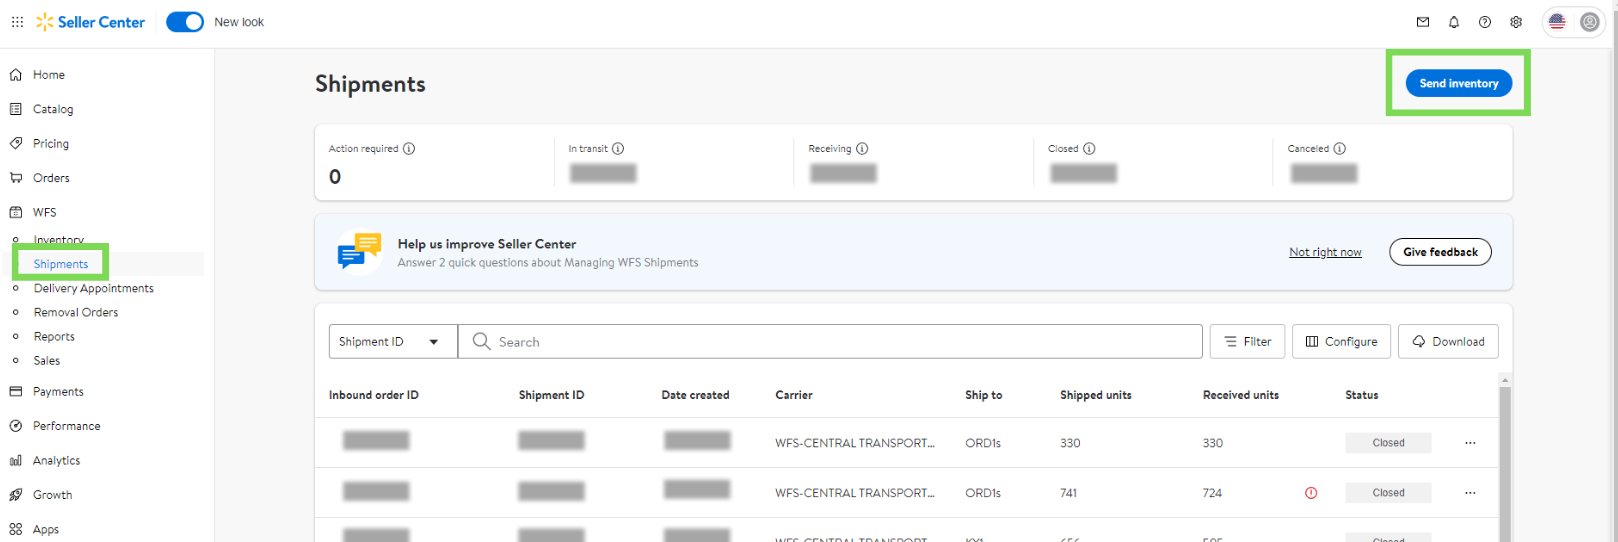
- Click on "Shipments".
- Next, click on "Send inventory" on the top right of your screen.

Step 3: Select Items to Ship
1. Select the expected delivery date in the top left corner:
- Tip: Select a date that is around 2-3 days after you plan for the boxes/pallets to be picked up.
.png)
2. Select the "Ship from" address. If you do not have an address saved, you can add a new address in this step by selecting "Add new address".
- Please ensure you are using the most accurate address, as this address will be used as a return address for any undeliverable shipments.
- Tip: Make sure to update this field with your Prep Center / 3PL address if they are shipping inventory for you into WFS. This will save you money and time.
3. Next, navigate to "Send inventory". There are two ways to upload the items you would like to send in your inbound shipment to WFS:
- Search items via Item Name, SKU, UPC, GTIN, EAN, or Item ID
.png)
4. Bulk upload file - for sellers sending in over 5 different items, we would recommend utilizing the upload file method.
Step 4: Select Quantity, Shipping Settings, Create Inbound Order
1. For sellers manually adding your inventory, add the total units, master case setup (Individual packed vs Case Packed), and select the units per case as applicable.
- Please note, the bulk upload file will also ask for the quantity, but you would just fill in the selected quantity and master case setup at the time of filling in the Excel sheet.
- Also note that you can edit each items quantity by (+/-) 6 units after creating the inbound order. You will not be able to edit units per master case.
.png)
2. Next select if you would like Walmart to Poly Bag ($0.60 per unit fee) or Label ($0.45 per unit fee) your products for you.
- Walmart states that: "Incorrectly prepared items take longer to receive, and we charge an extra $0.20 per unit on top of the Prep Services fee to correct them." Please ensure you are following all guidelines outlined:
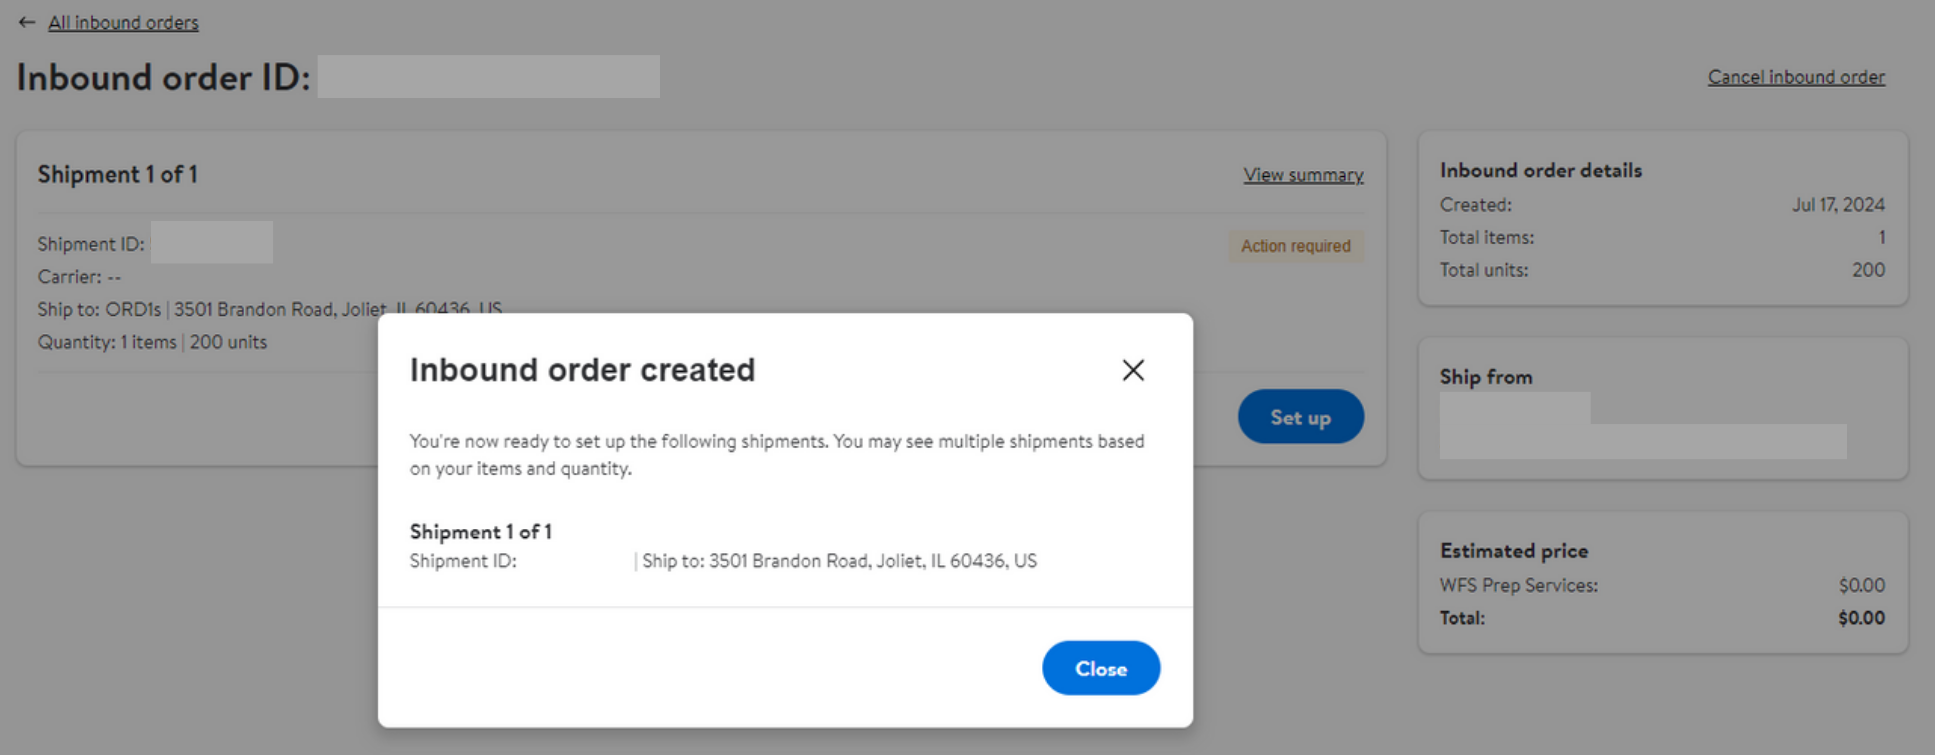
3. After all items and quantities have been confirmed, click "Create" to submit the inbound order.

Step 5: Set Up Shipment, Print Labels, Prep
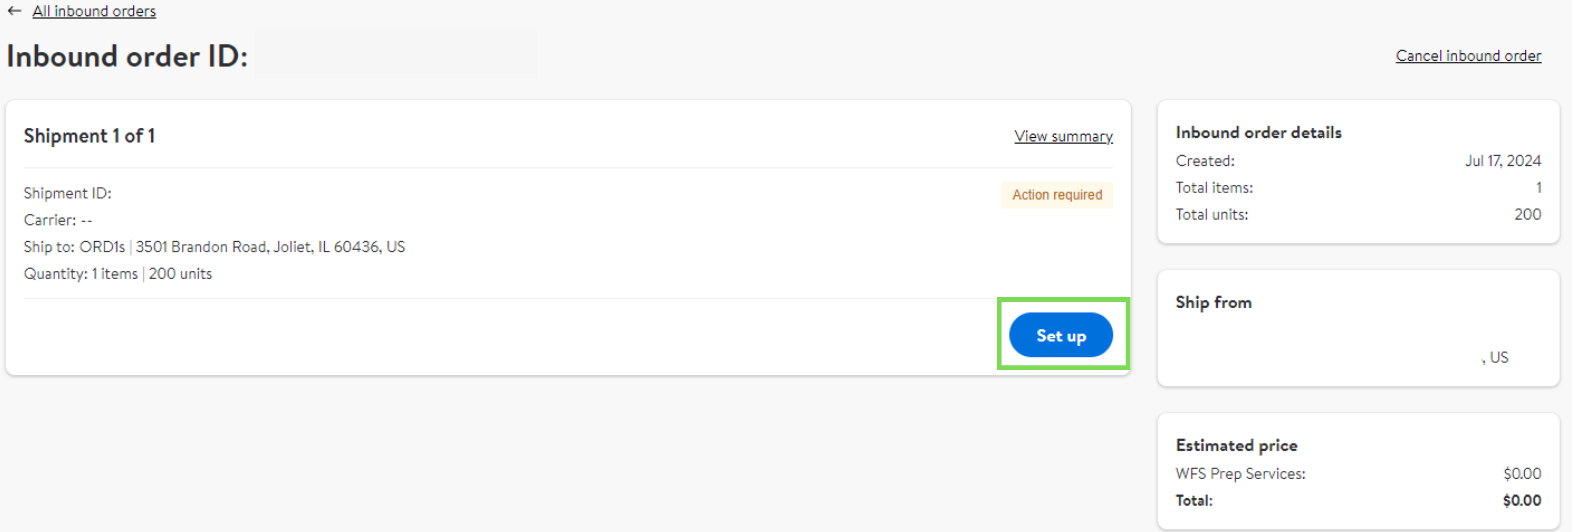
1. Click "Set up" when you are ready to prepare the shipment for Walmart.

2. Print item labels via "print icon".
.png)
3. Please note that Walmart does not offer prep guidance in these steps, so it is up to you to determine when additional prepping is required (Set Creation, Poly Bagging, Bubble Wrapping, Boxing).
- Follow these guides to ensure compliance and avoid fees:
Step 6: Enter Shipping and Packing Information
1. Select if you'd like to use a WFS preferred carrier or your own carrier to ship your products to Walmart's WFS Facility.
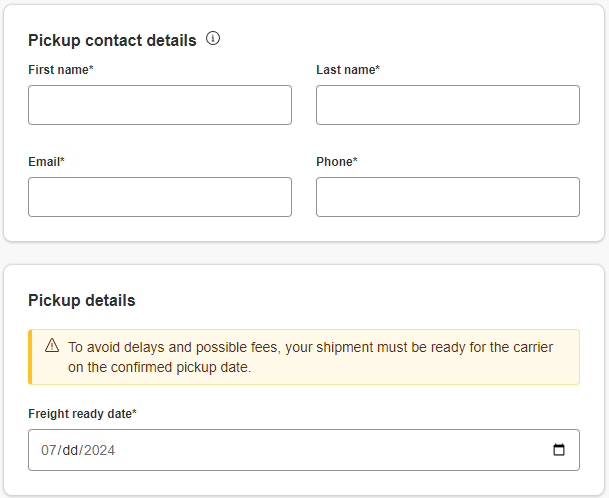
2. Select the freight type (Small Parcel Delivery or Less Than Truckload). If shipping via LTL - add the additional information required (Contact details for pickup).
.png)
3. Confirm your Ship from address.

4. Hit "Next" once all information is filled out.
5. Next input Pallet / Box information as requested from Walmart.
.png)
Step 7: Calculate Shipping Cost, Confirm Shipment, Print Box/Pallet Labels
1. Calculate your inbound shipping costs by clicking "Calculate price".
.png)
2. Once you accept the price estimates from WFS, click "Confirm" on the bottom left of your page.
.png)
3. After your shipment has been confirmed you will be able to print your box, carrier, and pallet labels.
Step 8: Prepare for Pickup/Drop Off
1. Prepare all boxes to ensure they are ready to be securely shipped off to Walmart.
2. Schedule a pickup with the carrier selected, or drop-off the packages if you'd like.
3. Done!
Final Notes and Housekeeping Items:
- All perishable goods (grocery, health, beauty, pet supplements, etc) must contain expiration or best-by dates on each sellable unit
- Items with an expiration date won't be received if item has 60 days or less till expiration
- Items with an expiration date of less than 30 days will be removed from your inventory
- For SPD, LTL and FTL each box must weigh less than or equal to 50 lbs, unless it contains a single unit that exceeds 50 lbs.
- For an individual item weighing over 50 lbs -> Attach a "Team Lift" sticker to the box.
- For an individual item weighing over 100 lbs -> Attach a "Mech. Lift" sticker to the box.
- If you are reusing boxes from prior shipments, ensure all prior shipping labels and marking are removed.
- Shipping via LTL/FTL
- You must use 40" x 48" pallets in good condition without any breakage
- Pallet height can not exceed 72"
- Pallet weight can not exceed 2,100 lbs
Ensure you read all Walmart guidelines in addition to our guides to ensure full compliance and understanding of the shipment creation process.
For additional assistance, visit our Resource Center or contact our support team.


.png)
